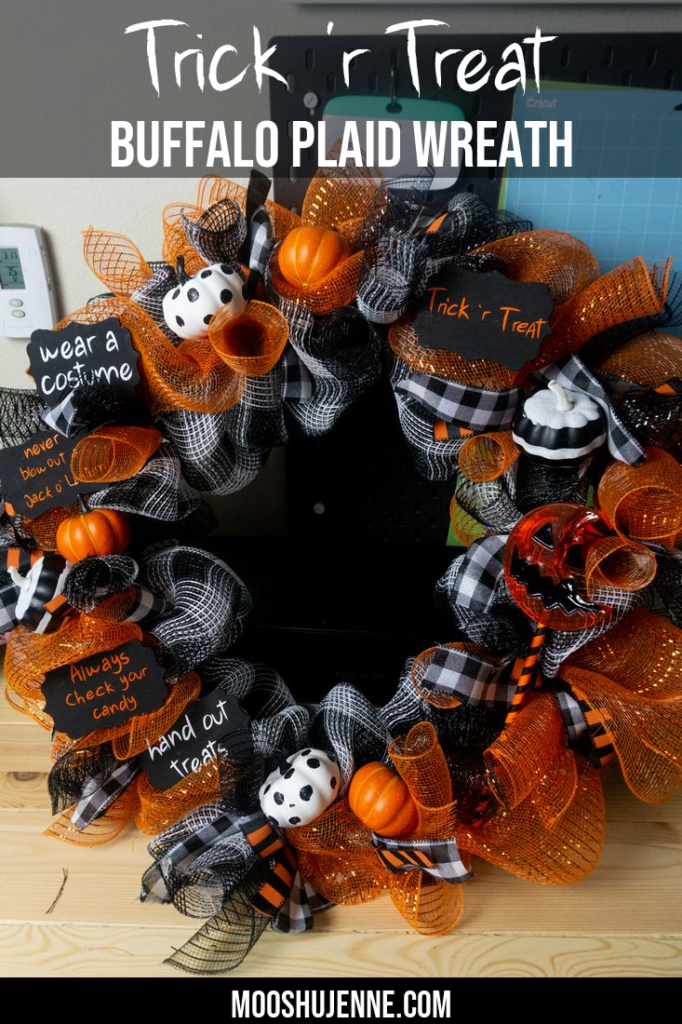
Trick ‘r Treat Buffalo Plaid Wreath
If you haven’t seen the Trick ‘r Treat movie then it’s a must. This Trick ‘r Treat buffalo plaid wreath is based on the movie. It’s a horror flick that also goes through the traditions of Halloween. Learn below how to make this adorable Halloween buffalo plaid wreath.
The buffalo plaid mesh can be found at Hobby Lobby. It’s one of those in the Christmas section. It won’t be with the other normal mesh. This is a good thing as it gives you more on the roll and it’s usually 40% off.
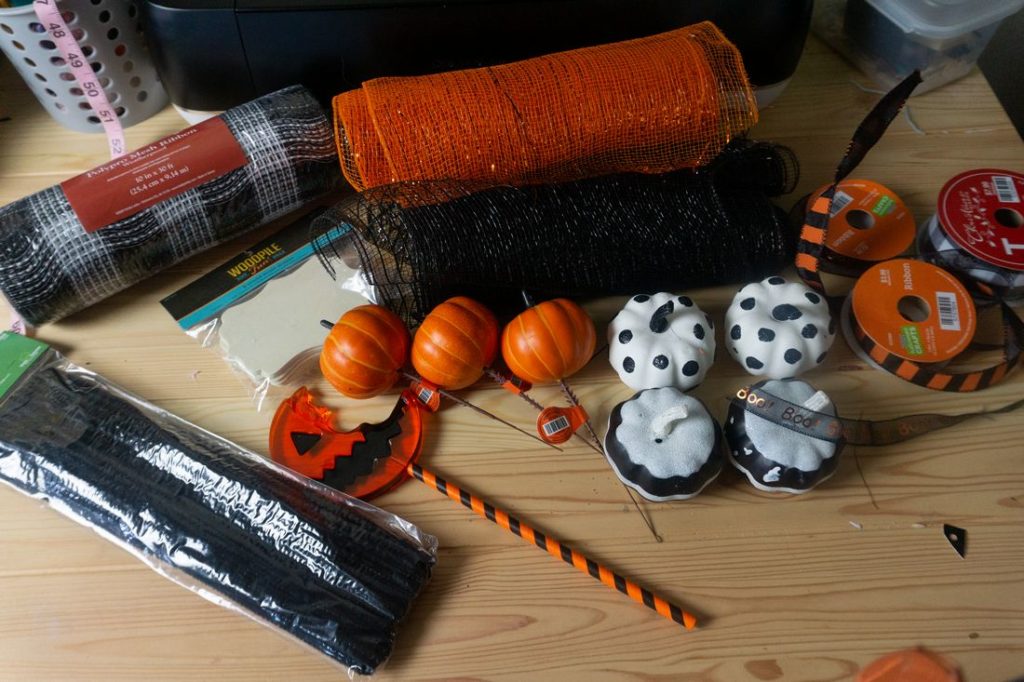
Materials Needed – Trick ‘r Treat Wreath
- 1 package of black pipe cleaners
- 3 orange pumpkins (sticks removed)
- 4 black and white pumpkins
- 1 Sam lollipop ( get it at spirits locally or here on amazon)
- A roll of Halloween ribbon
- A roll of plaid ribbon
- Buffalo plaid mesh
- Orange mesh
- Black mesh
- 1 package of woodpile shaped wood
- 1 bottle black matte paint
- 12 x 12 sheet oracal 651 vinyl orange
- 12 x12 sheet transfer tape
- cricut machine for cutting vinyl
- blue cricut cutting mat
- weeding tool
- wreath frame 20″
- 4 hot glue sticks
- hot glue gun
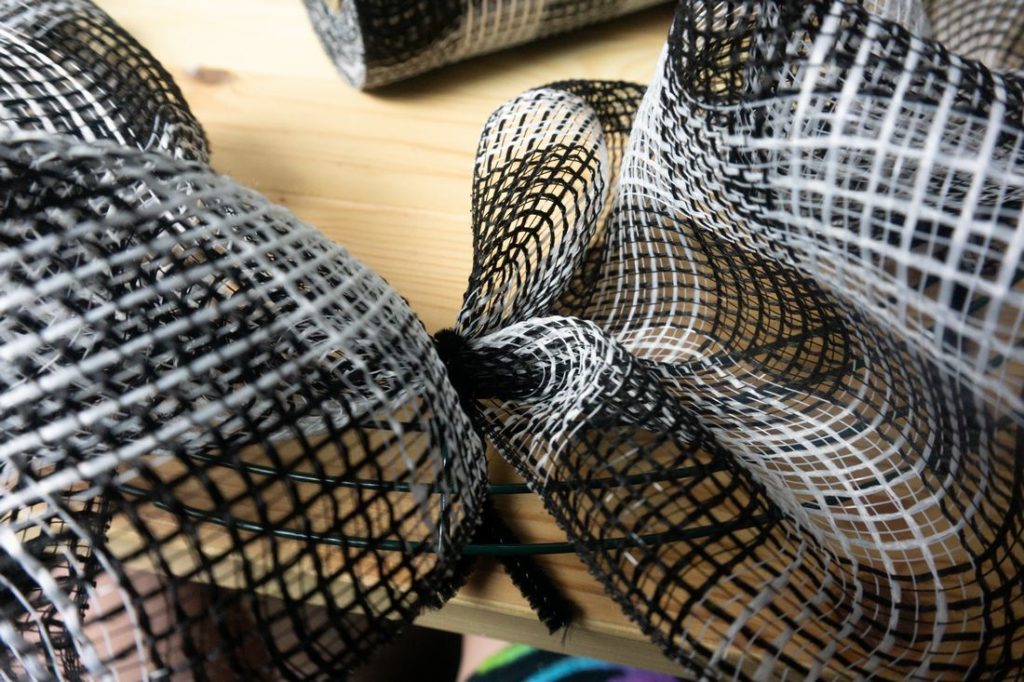
Along the wreath frame is dividers that go across. This is how I gauge my puffs. Attach the mesh at each divider with pipe cleaners. Cut the pipe cleaner in half, wrap, and twist around the wreath. Make a row of the buffalo plaid all the way around.
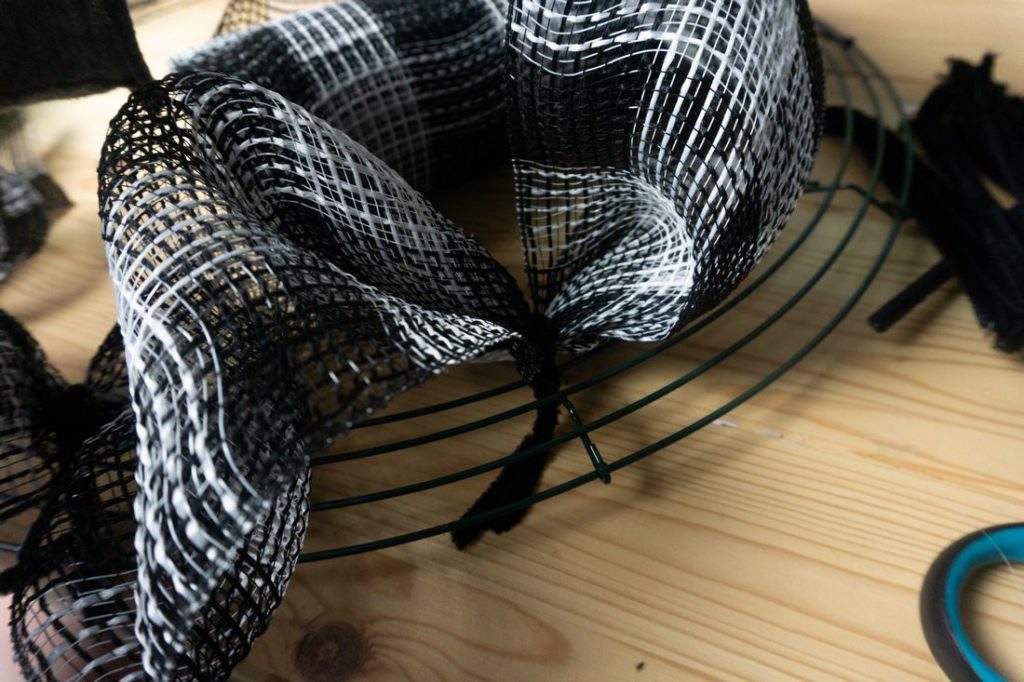
Do this along the top row. Then in the middle row follow the same directions but with orange mesh. Then for the bottom row repeat with the buffalo plaid mesh. This will complete the base of the wreath.

Once you have the mesh attached it’s time to make filler pieces. Cut 5 strips about 3 inches wide of the buffalo mesh then of the orange and also the black mesh. Do this for all three. Once completed cut the ribbon pieces about 6 to 8 inches in length.
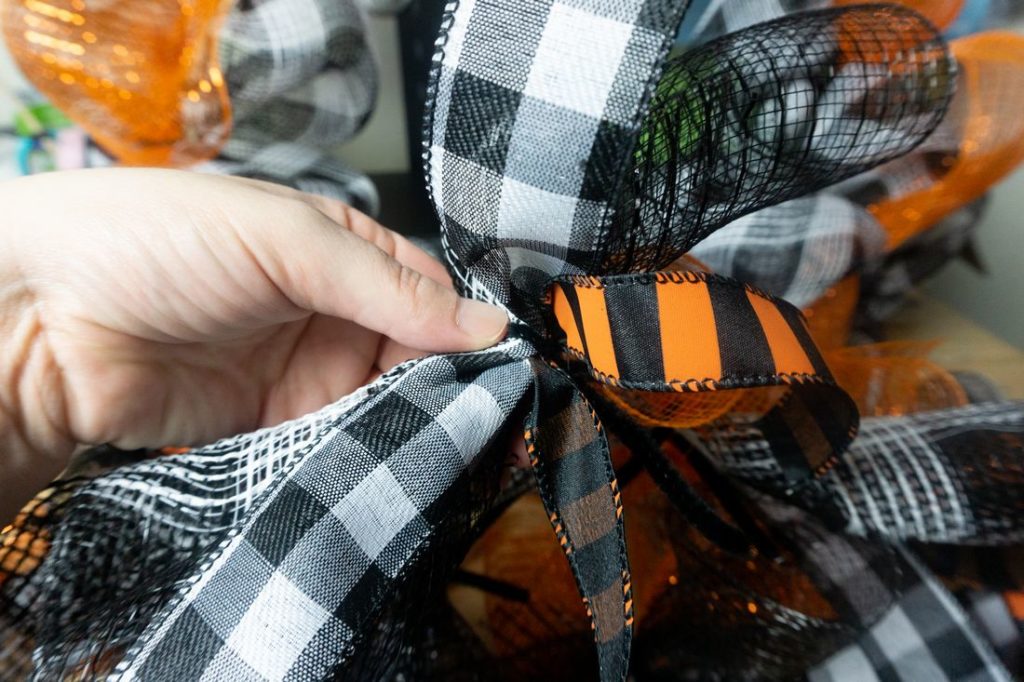
Attach the ribbon and two pieces of mesh rolled together with pipe cleaner. After this attach the piece anywhere on the wreath that looks empty. I like to do this along all the junctions then anywhere else that looks empty.

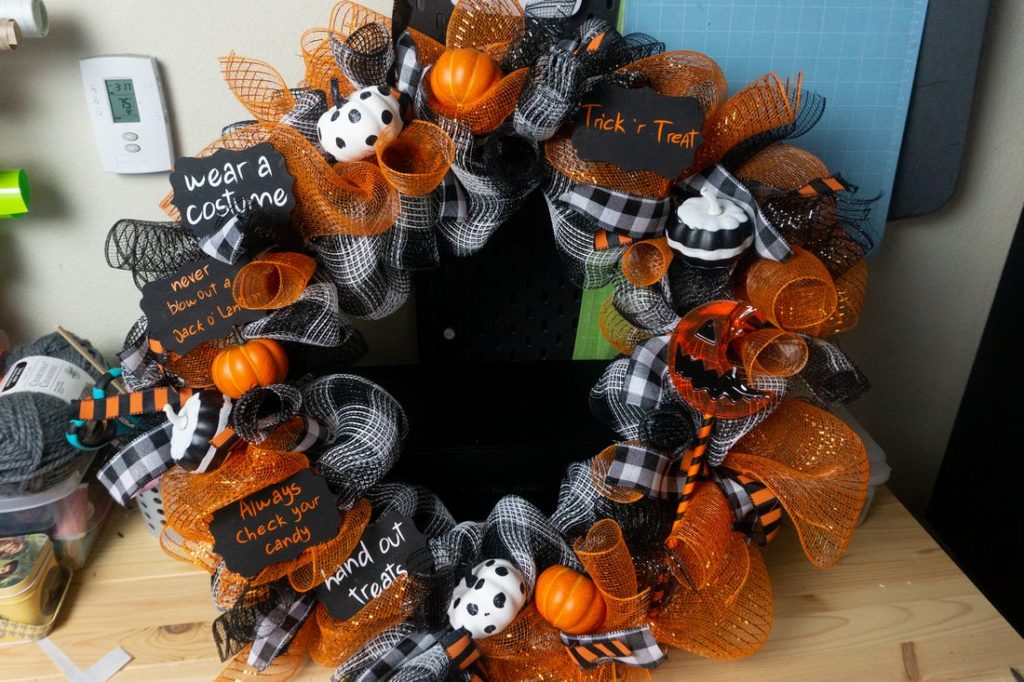
Once the wreath is filled in it’s time to stage the pumpkins. I add the lollipop and pumpkin into the places I’d like them. Then hot glue them into place. Once glue into place you can stage the wood pieces.
For Wood Signs:
For the wood signs I find the wood at Hobby Lobby. Then paint them with matte black paint and let dry for a few hours. Once they are finished. I cut the cricut SVG’s out which can be bought at Sweet Little SVG.
- Trick ‘r Treat SVG
- Always Check Your Candy
- Hand Out Treats
- Never Blow Out A Jack O’ Lantern
- Wear A Costume
Place the orange vinyl on the blue cricut mat. Import your SVG into design space. Make the image the size of your wood. Here I made them just under 2″ inches in height. Set the dial on the cricut to vinyl setting and cut.
Weed the design. Cut transfer tape and place on top of the design. Scrape well with credit card, gift card, or scraper tool. This allows the vinyl to stick to the transfer tape. Once complete slowly pull back vinyl and place on the wood. Pull slowly making sure everything adheres,

Hot glue the wood signs onto the wreath. When done your wreath is now complete, Hang it on the door with an over the door hanger.
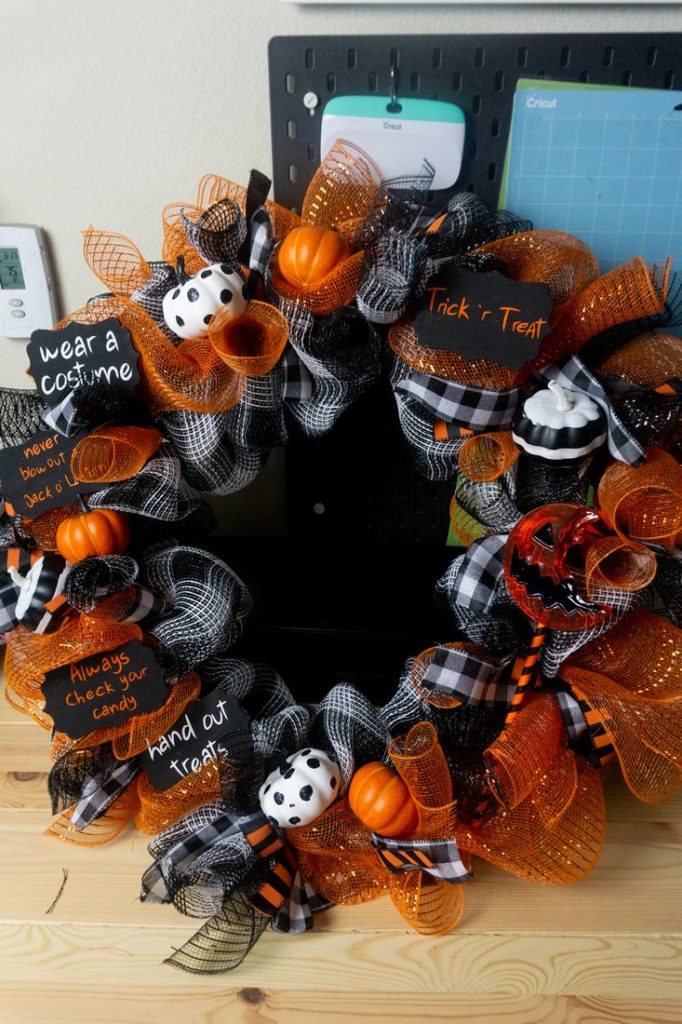
We hope you get a chance to make this wreath and to watch the Trick ‘r Treat movie. Hope you have a safe and fun Halloween! Check out some other Halloween crafts below.
Halloween Crafts:
- Horror Movie Halloween Succulents
- Horror Movie Halloween Gravestones
- Halloween Candy Cauldron Stand
- Halloween Nordic Gnomes
Pin Trick ‘ r Treat Buffalo Plaid Wreath