
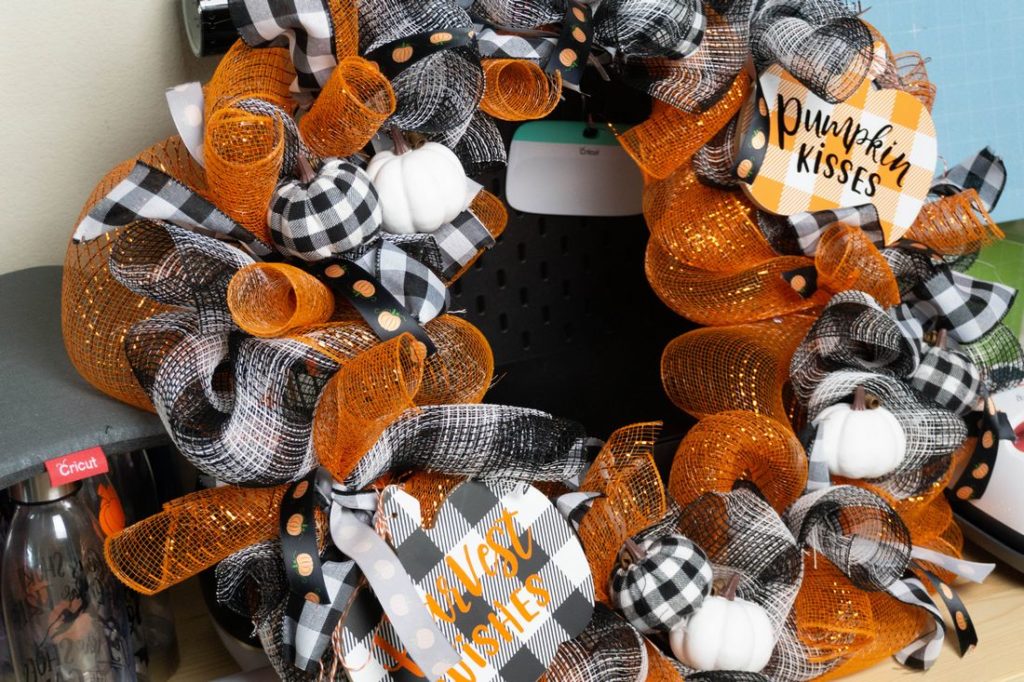
Fall Pumpkin Buffalo Plaid Wreath
Fall is here it’s September and although the temperatures definitely don’t resemble fall it’s still time to decorate everything football and pumpkins. Strolling along in the store I saw the cutest plaid pumpkins. Those plaid pumpkins inspired me to make this Fall Pumpkin Buffalo Plaid Wreath.
While I already had a Halloween Michael Myers wreath I didn’t have one that’s just fall. I want to do one for after Halloween to that’s just Thanksgiving. Making the wreaths allows me to easily rotate out decor that’s fun for the holidays. Hence, allowing me to use the wreaths year to year.
The Method
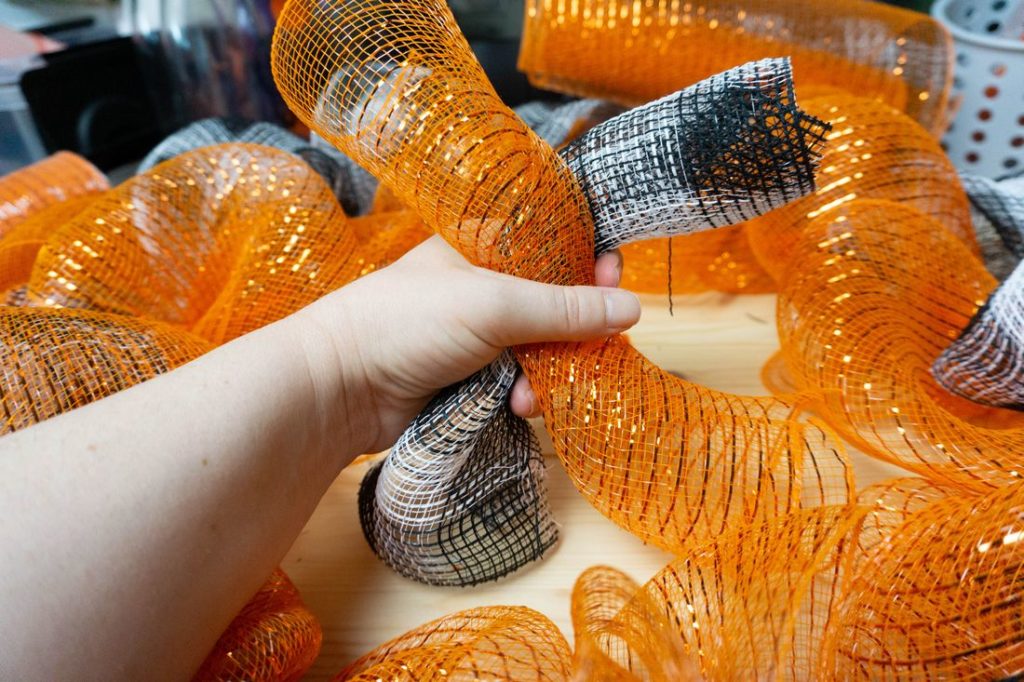
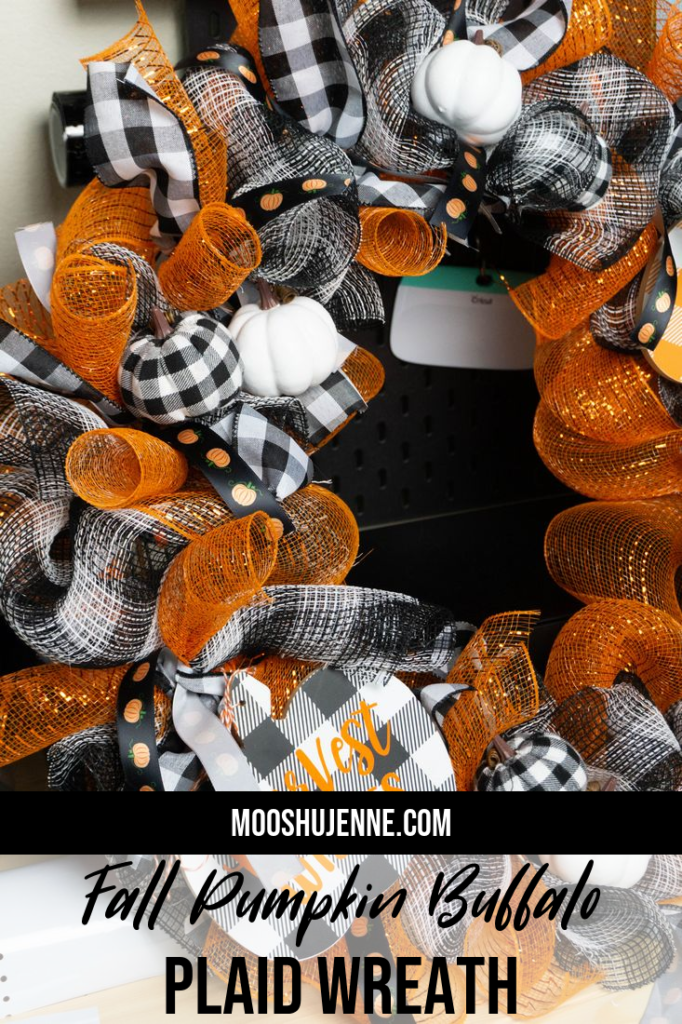
The first step is to take decorative mesh with pipe cleaners that are cut in half and attach the mesh in poofs along the wire frame. Depending on the size of the wire frame depends on how much mesh you will need. We like to do two layers of one color and another layer in the center of another color or pattern.
How To Attach Deco Mesh
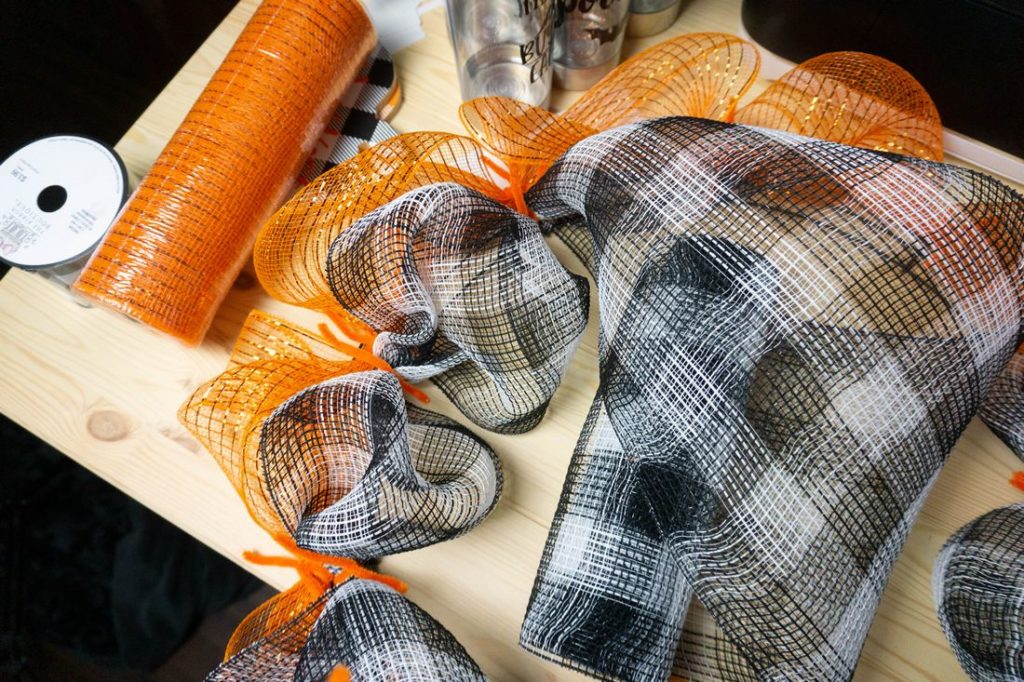
As you can see here I did a plaid center. There is no need to match the pipe cleaner to all mesh but it should match the wreath. I get the pipe cleaner and deco mesh at Hobby Lobby but it can be found at other craft store or on amazon. Just attach the plaid to the center of the frame then repeat the orange on the inside of the frame.
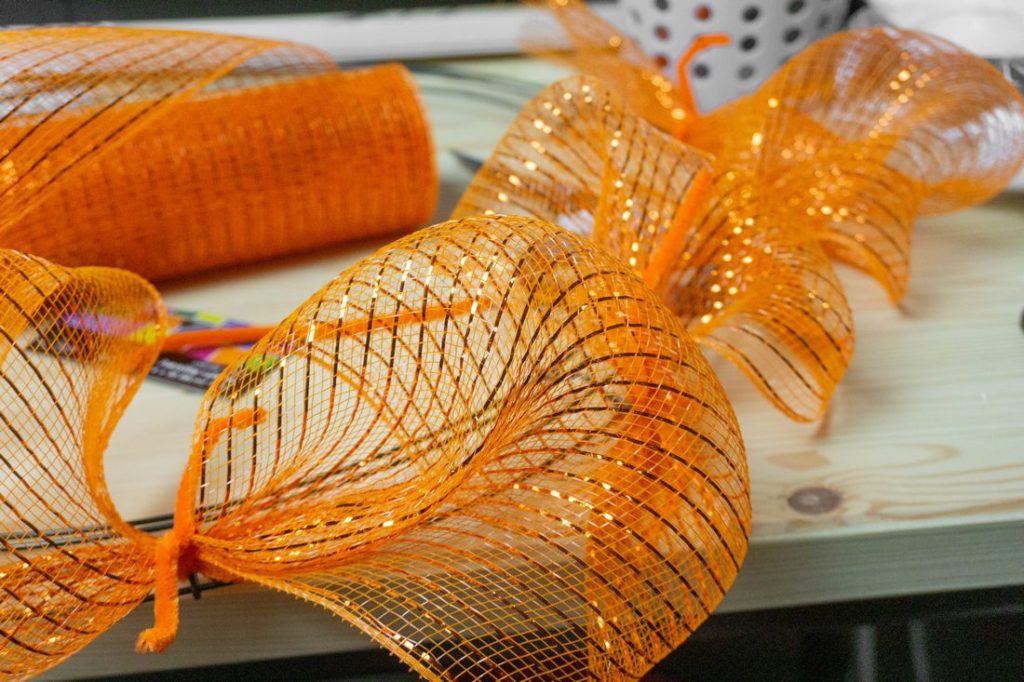
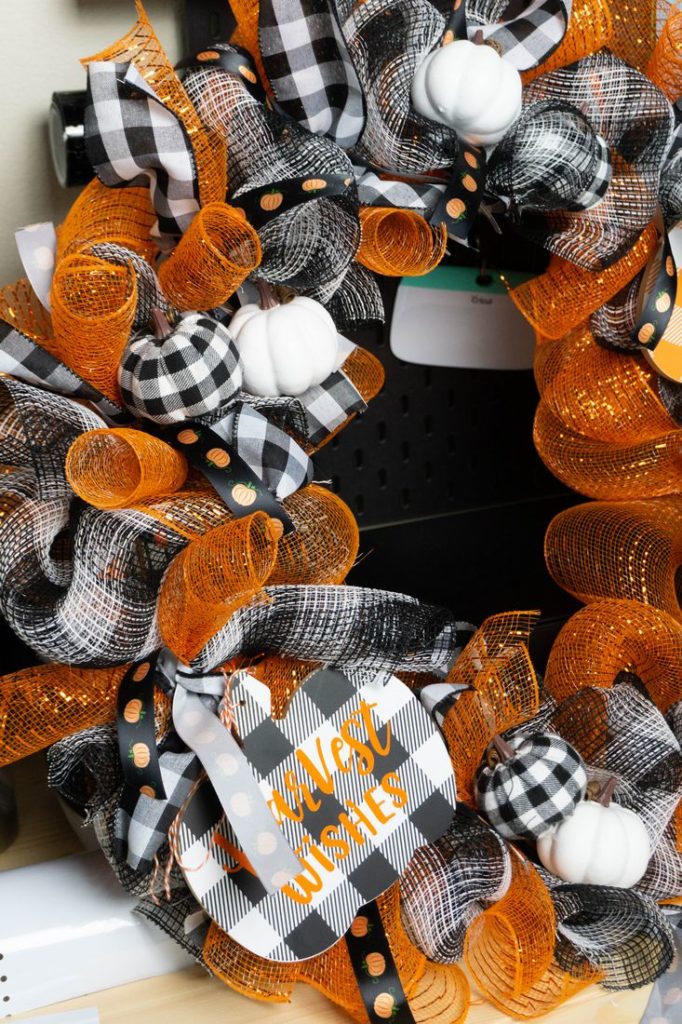
Having plenty of the deco mesh is key when making a wreath. Here you see I have cut pieces of the deco mesh and rolled them. The mesh will roll easily on it’s own. I just cut enough of these to go all around the wreath at the metal line breaks. This technique helps to fill in the wreath.
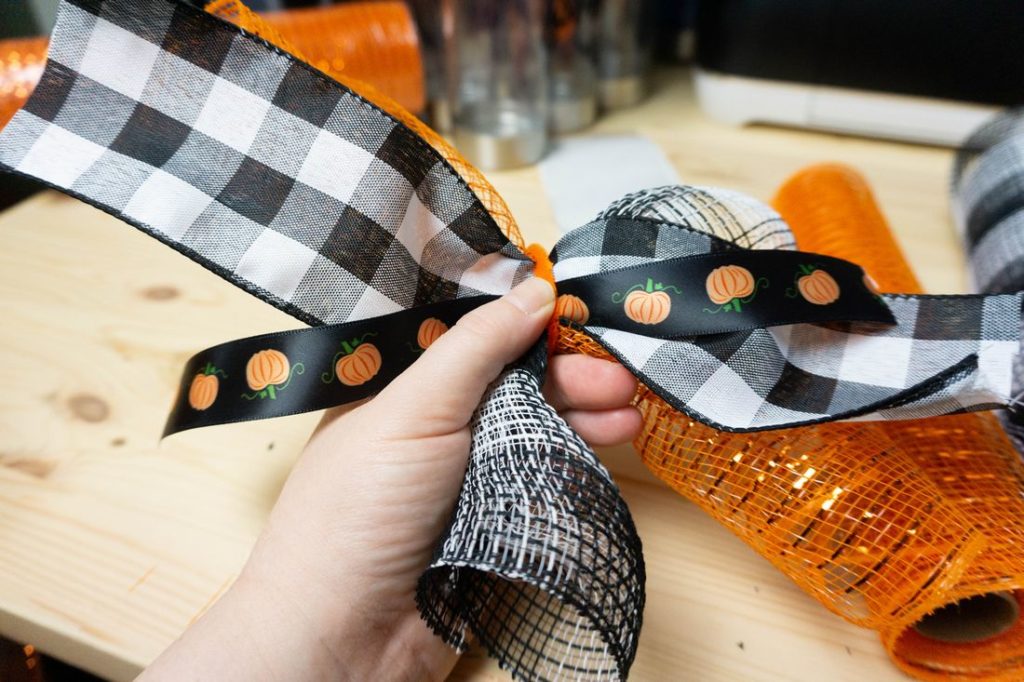
Take the two pieces of deco mesh along with ribbon of choice then wrap with a piece of pipe cleaner. Attach these to each metal line break to help fill in the wreath. If you have bare spots this is also a good way place to attach these to fill the wreath in.
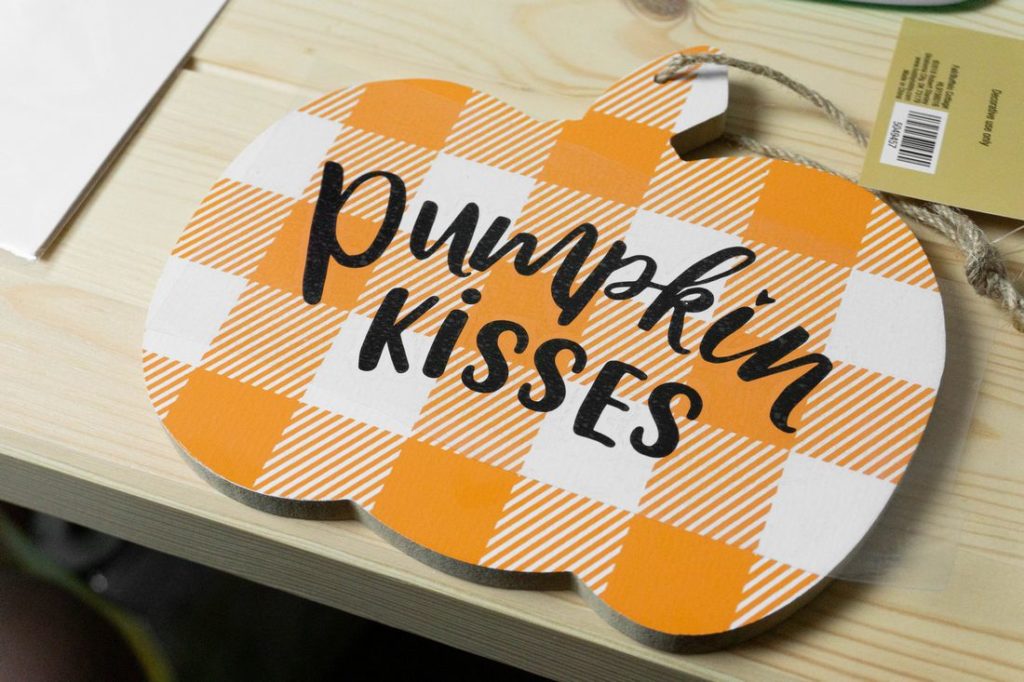
Next, I bought these plaid pumpkins then made with my cricut pumpkin kisses and harvest wishes on Oracal 651 permanent vinyl. This allows them to hold up in the weather. To find the pumpkin kisses and harvest wishes SVG just visit Sea SVG on Etsy.
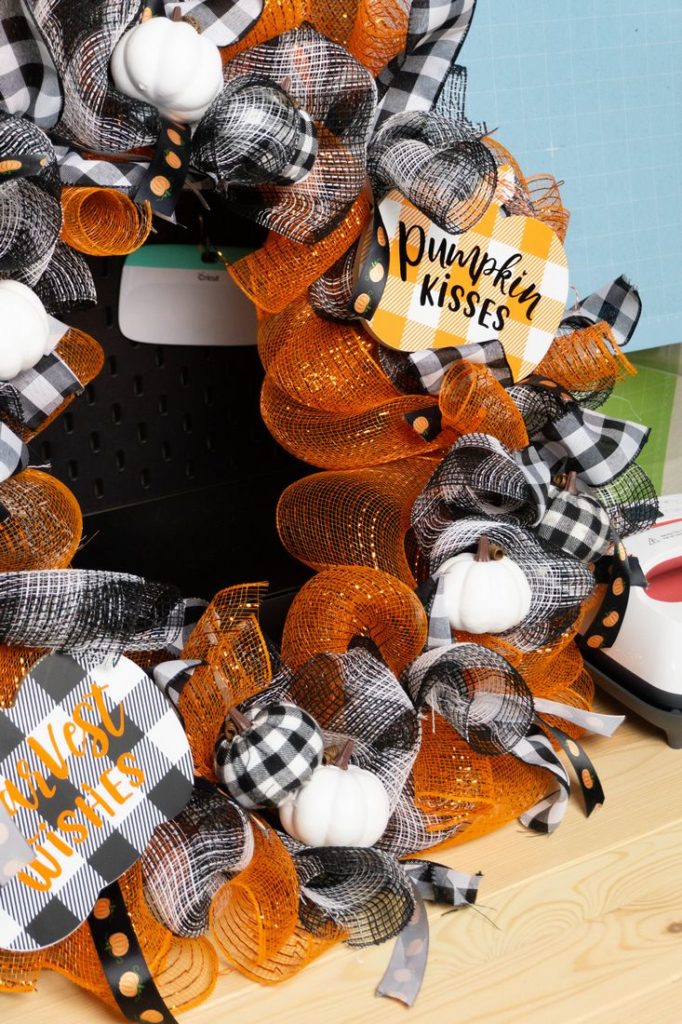
I applied the pumpkin kisses and harvest wishes vinyl stickers to the pumpkins with transfer tape. Then I hot glued the pumpkins along with the white and plaid pumpkins to the wreath to the places I thought looked best.
After attaching all the pumpkins I made sure that everything was very secure. If it moves then it needs more hot glue underneath. After that is complete look through and remove any glue strings.
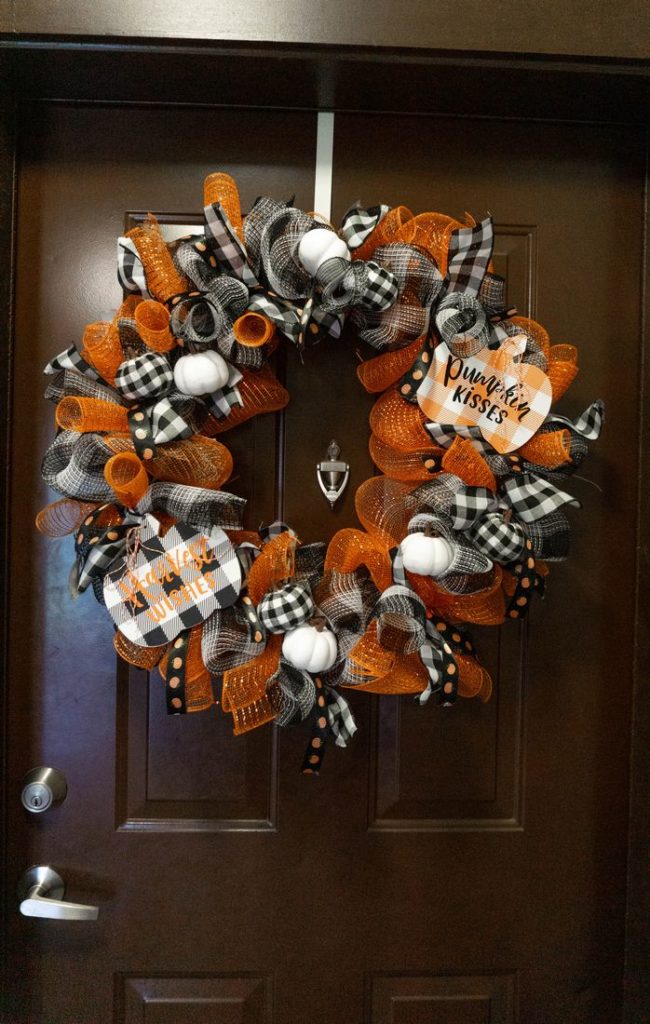
The wreath can then be hung on a wreath door hanger on the front door or door of your choice. We like to celebrate the seasons with our neighbors so we hang the fall pumpkin buffalo plaid wreath on the front door. Want to save this to make for later just pin it below!
Pin Me:
What size wreath and how many yards of each ribbon did you use?
20″ inch wreath size and I usually use 2 rolls of each color. This is to make it very full. You can get away with 2 rolls of the orange and one of the plaid. I use the hobby lobby rolls. https://www.hobbylobby.com/Christmas/Ribbon-Bows/Deco-Mesh/Black-White-Check-Deco-Mesh-Ribbon—10/p/81078317
Hi i love this wreath! is there a way I could buy it? My email is brigette.trevino@gmail.com
Thank you! I am glad you like the wreath. Some of the items to make a second wreath like this may not be available. The wreath displayed is my own wreath and I am not willing to part with it. The cost of this wreath would be $150 and not counting shipping for me to produce another if I could even replicate everything. Have a wonderful day!
Adorable! I’ve always wanted to try making one of these!
I hate to be so stupid, but how long are each of the mesh cuttings
Just roll it out and once it makes a bit of a roll cut it. A little over an inch. There is not an exact measurement just till the mesh rolls nicely and will hide the cut.
Thank you for sharing. I’ve had a blast making this. I’m almost finished with it just needs final touches. I appreciate your talent. Thank you
Love to see the finished product when you done!
This wreath is absolutely beautiful. Catches the season!!!
Thank you! I love this one so much with the buffalo plaid!
This looks beautiful! How do you cut your deco mesh so that it doesn’t fray? That’s where I always get stuck.
I cut it with scissors I only use for fabric. It still frays and I just roll it well and then secure with pipe cleaner. Trim off any long ends. Glad you like the wreath!
Mesh will fray. Espically certain ones. But to help it fray less than using scissors; you use a rotary cutter. All the big wreath makers on youtube use those. I also use one and cut on a sealf healing cutting mat. It makes it so much easier and the measurements are on the mat. All you have to do is roll it out to desired length and cut. Si much faster too. And you can cut multiple rolls at once
I’ve used the rotary cutter and just flat don’t like it. It’s more of a preference thing. If you love to craft and sew you might want a rotary cutter and the board to cut on. That’s additional for me so I just use scissors. I don’t see the purpose in the replace costs of the blade and the mat 🙂 I really think the rolling technique helps. Also, I get my mesh at Hobby Lobby and love working with the softer plaids the best.
Is your deco mesh 6 inches or 10 inches wide? I love this wreath for fall. Thank you 🙂
The deco mesh I use is from Hobby Lobby and it’s the longer 10 inches. The short ones don’t give as much volume in the wreath.
This wreath is so fun. I absolutely love it, especially how the orange sets off the buffalo check.
Thank you! I have received a large response to this both in person and also online. I really love it myself 🙂