July 4th Gnomes
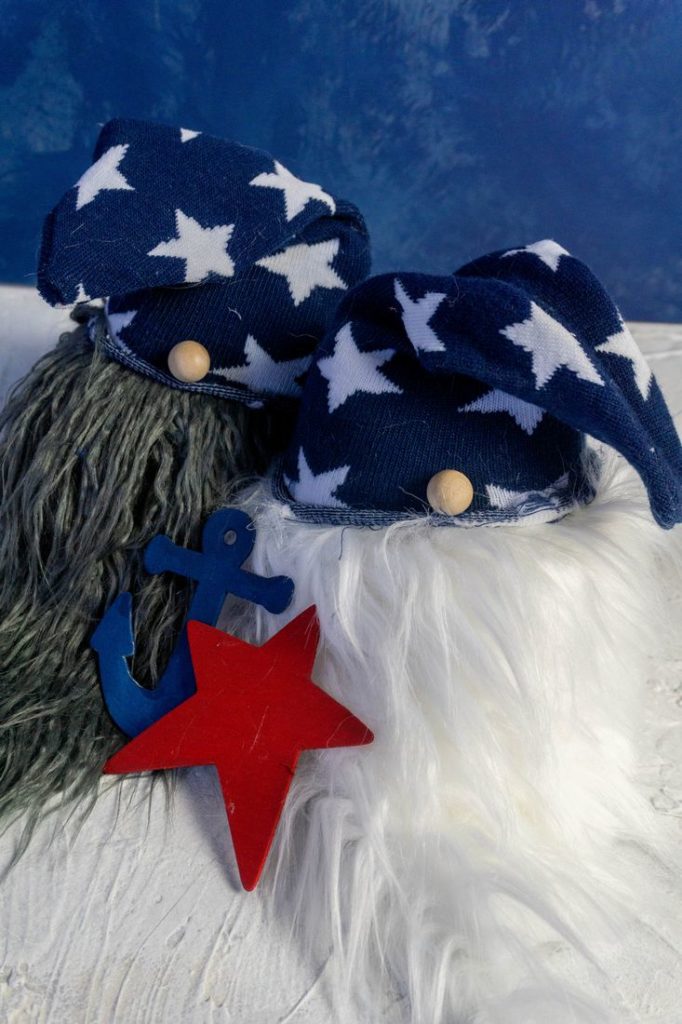
When it comes to seasonal decor making gnomes are the simplest and cutest way to decorate. Place them in a tier, on a shelf, or even on the mantle. Learn how to make these super festive July 4th Gnomes.
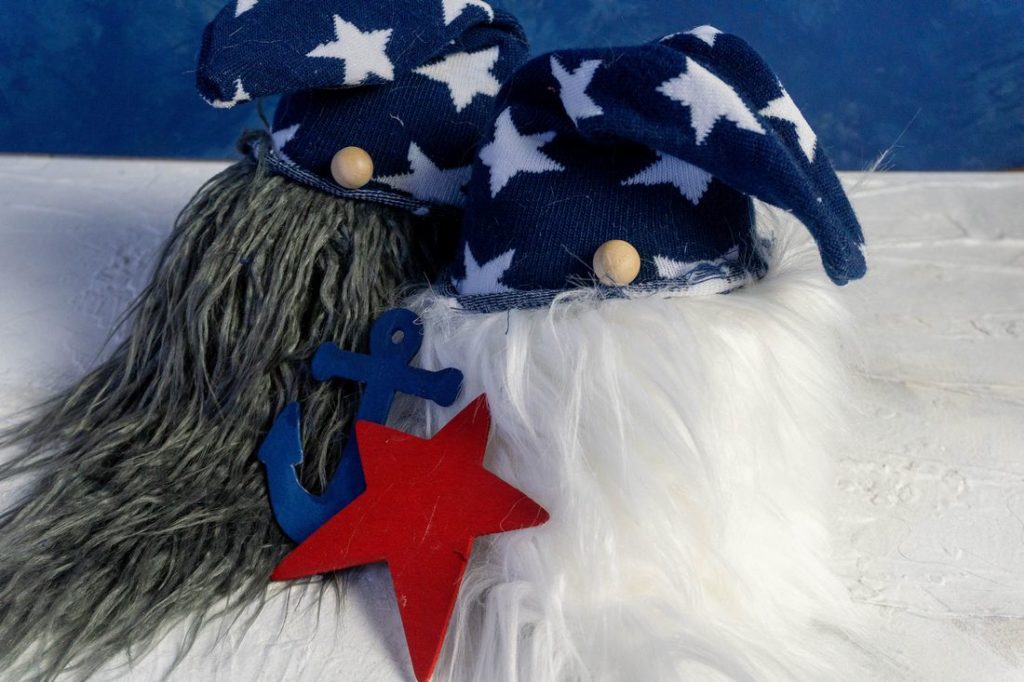
For these gnomes I got the socks from Hobby Lobby. If you don’t want to go into a store then they socks can also be bought on amazon.
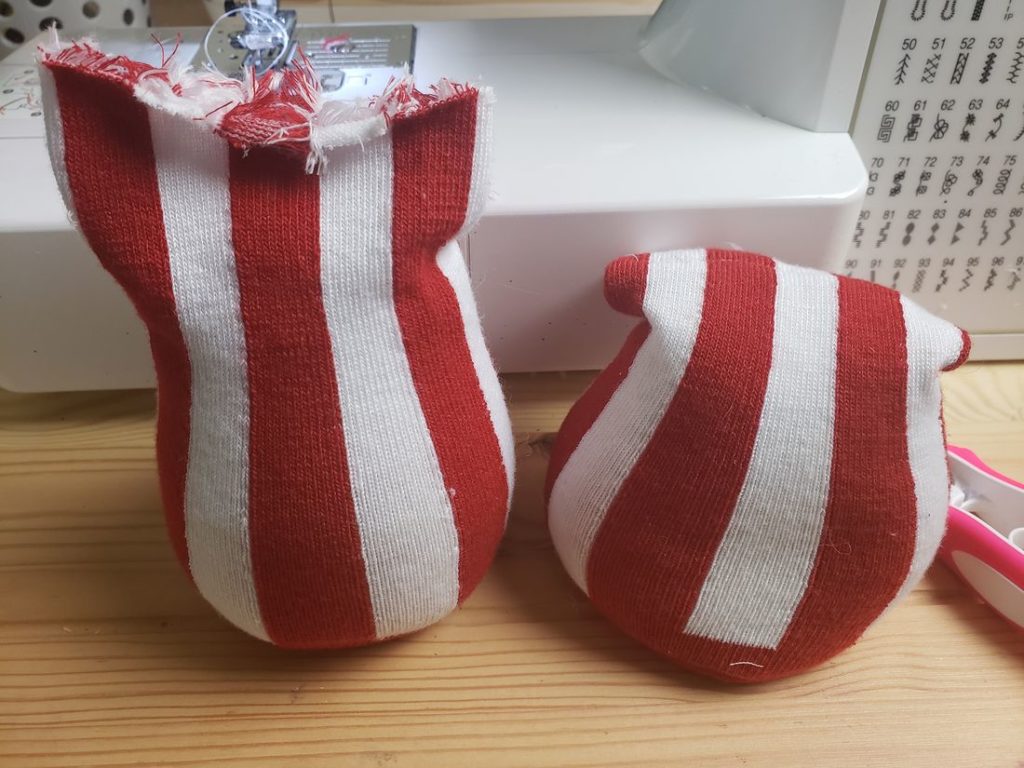
First cut the sock right at the heal. The top of the sock will be the hat and the bottom of the sock will be the body. The bottom is what you will fill with rice.
MATERIALS NEED FOR july 4th GNOMES:
- two socks – one for each gnome
- rice – for filling the body
- sewing thread
- sewing machine
- faux fur
- hot glue
- wood ball for nose
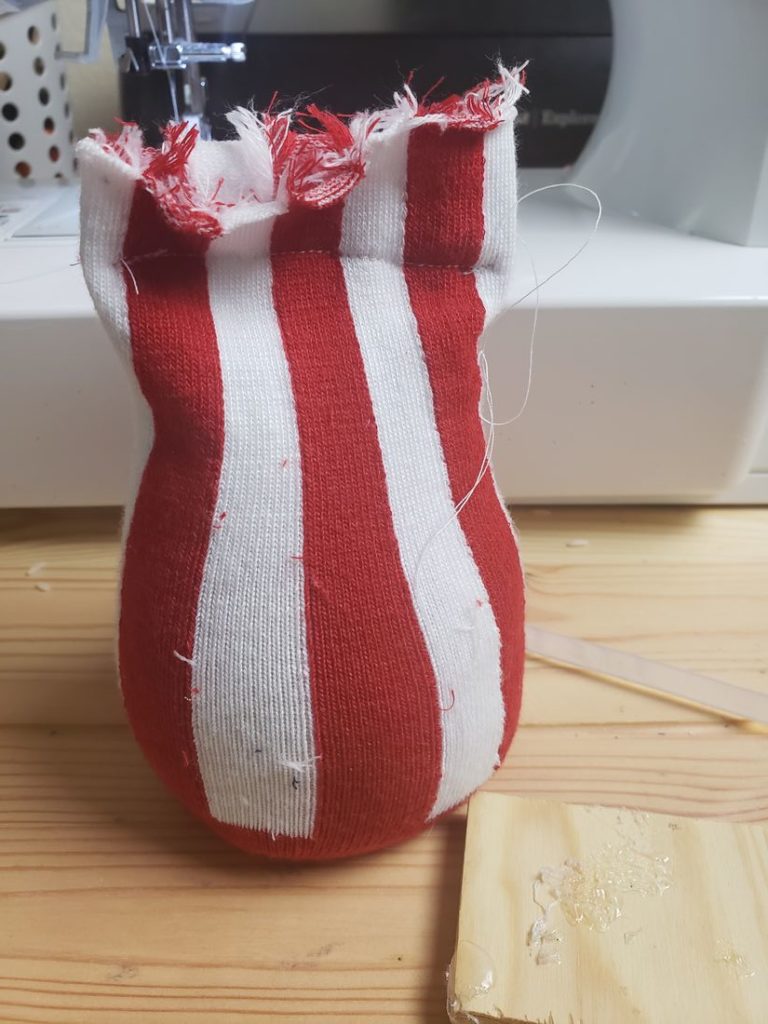
After filling with rice. Stitch across the top of the rice filled sock. Then trim and hot glue to the back of the body.. Take the top part of the sock. Flip it inside out and stitch in a V shape. Cut off excess. This will make the point of the hat.
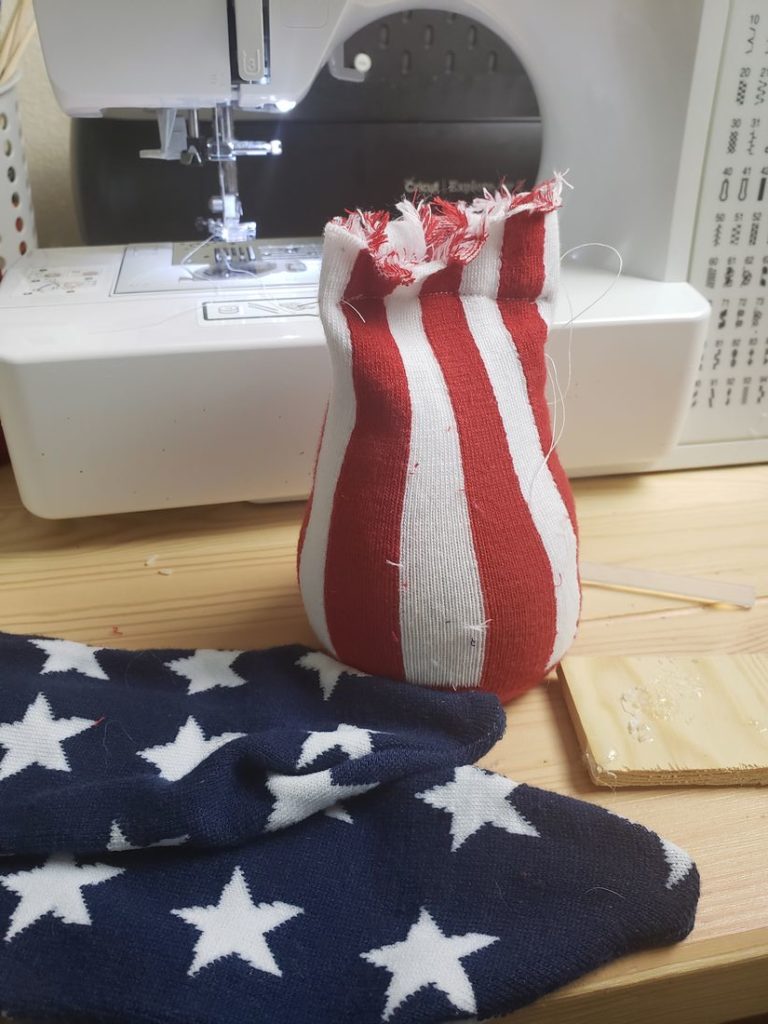
I like to stitch the V first then go back and cut the edges off beyond the stitching. This allows for a cleaner cut and better looking V shape when the gnome hat is turned right side in.
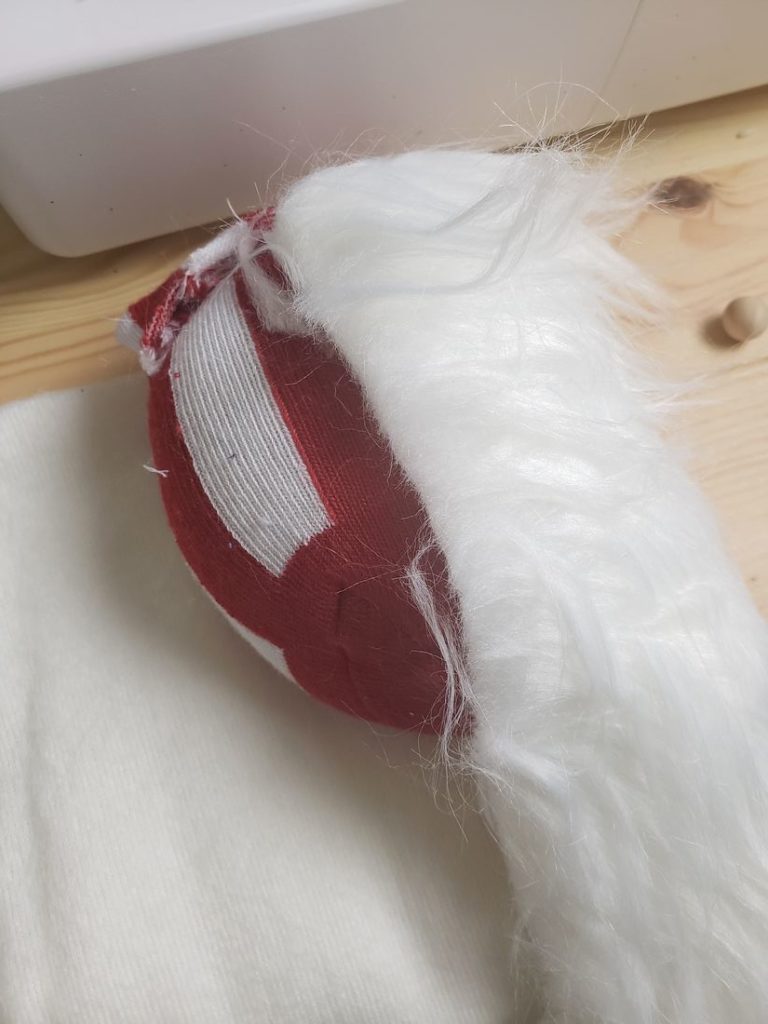
THE FUR:
Take the body and set it onto the faux fur color you would like to use. We use faux fur from the fabric store and get it with coupons. However, you can pick up crafting fur and it will look the same. The idea is the longer the faux fur the better looking the beard.
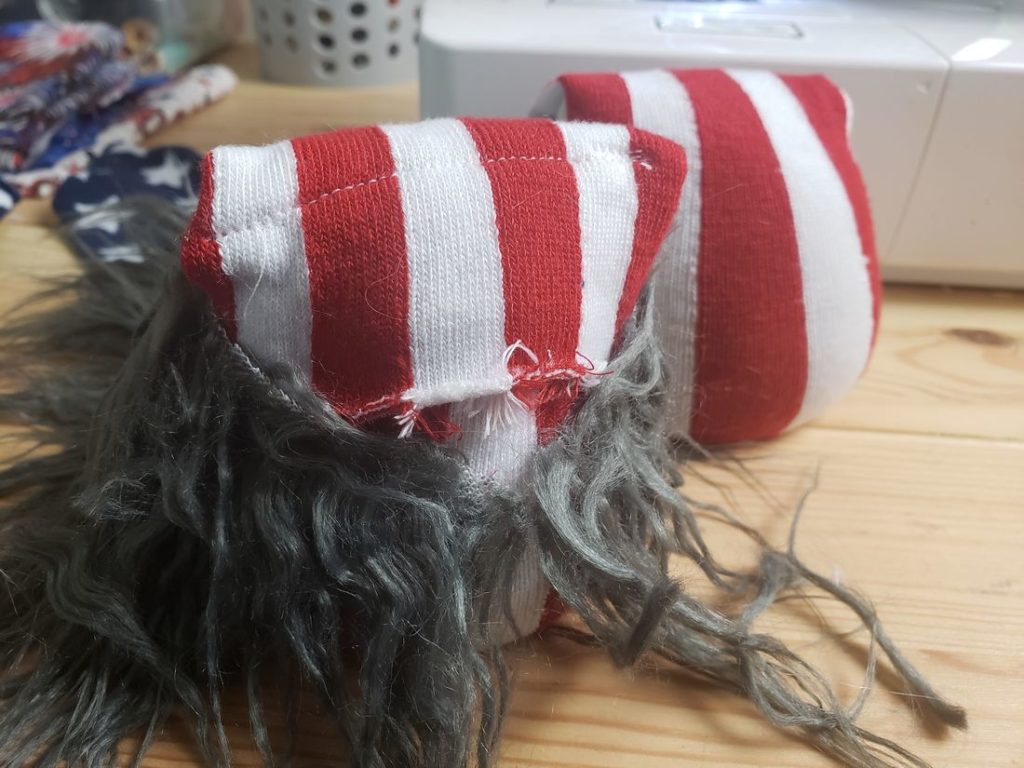
Cut the faux fur to an angle of the beard you’d like but be sure that the fur wraps completely around your gnome body. This will need to be hot glued in place and can be slightly trimmed after. You can see this method in the Harry Potter Christmas Gnome post also.

FOR THE BEARD:
Make sure that the bead is longer than the body for the best effect. The long beard allows trimming and for it to hang over ledges that you may sit the gnome on. Hot glue the beard together in the back. Take the hat sock and pull it over the beard and body.
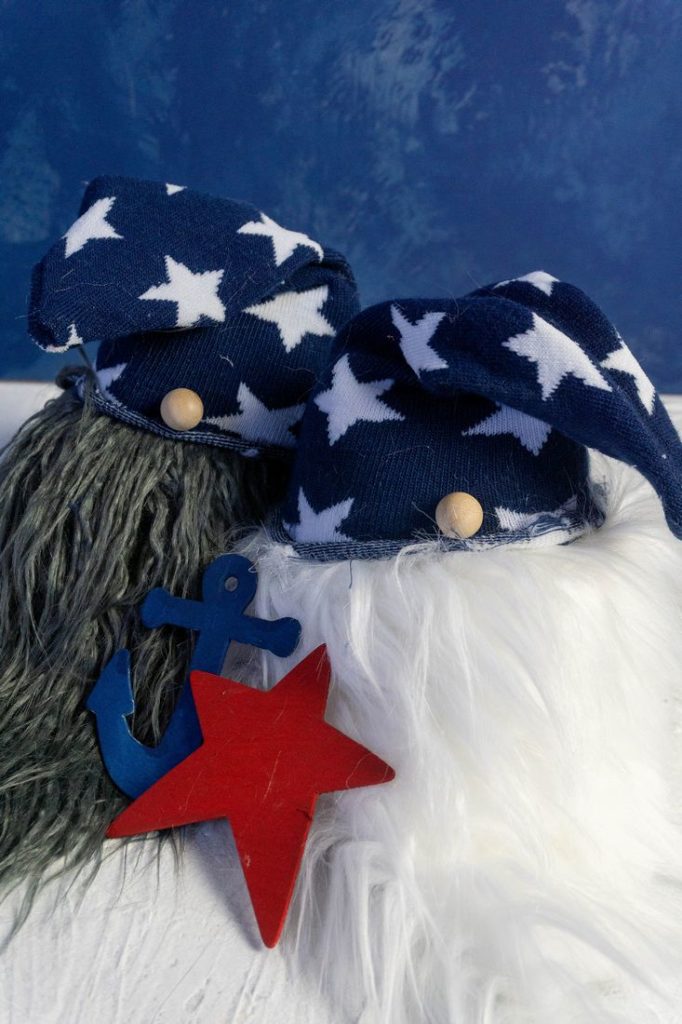
FOR THE NOSE AND HAT:
This will create the hat and cover the meeting place of the beard in the back. Hot glue the hat in place both front and back along with the sides. After the hat is hot glued into place take your wood nose and glue it to the front of the gnome. I leave the nose natural colored however, you can paint the nose any color you would like.
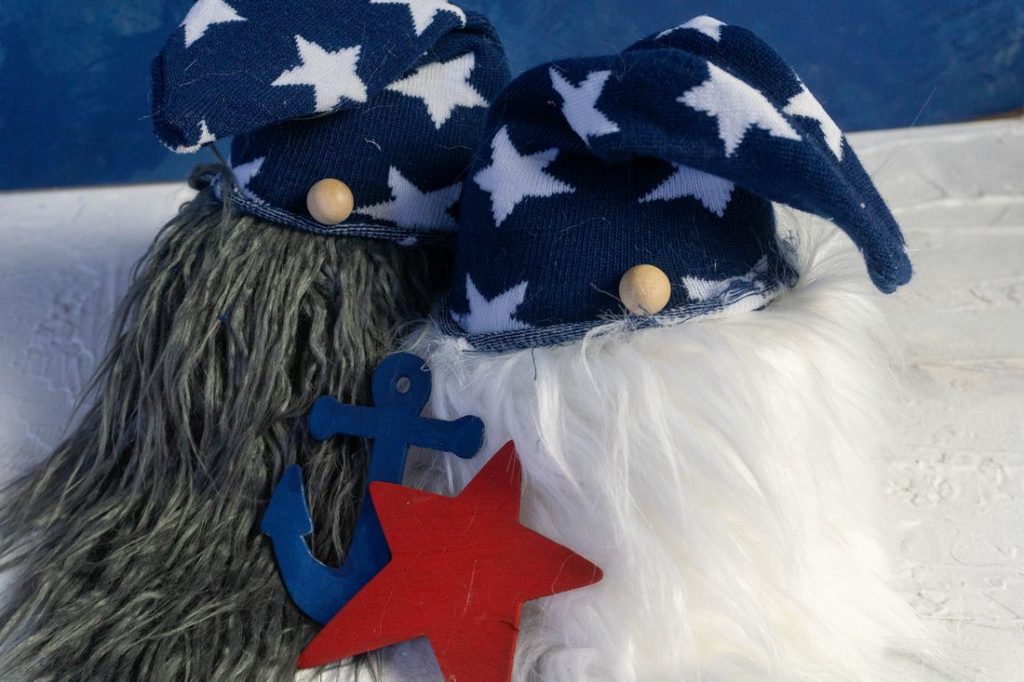
You would do this process for each July 4th Gnomes you would create. If you would like to make more of these gnomes of each season check out the different tutorial links for gnomes that we have below.
Seasonal Gnomes:
Pin July 4th Gnomes:

Thank you for sharing this idea, I found this article very helpful just before 4th of July 🙂