Skip to content
Home
About
Expand
Shop
Work With Us
Press Requests
Press
Privacy Policy
Nutrition Disclaimer
Recipes
Expand
Ethnic
Expand
North American
Expand
American
Mexican
Cajun
Caribbean
Eastern European
Expand
Czech
Hungarian
Western European
Expand
French
Italian
Scandinavian
Expand
Finnish
Asian
Expand
Chinese
Indian
Meals
Expand
Drinks
Appetizer
Breakfast
Lunch
Side Dish
Dinner
Desserts
Meats
Expand
Bacon
Beef
Chicken
Pork
Seafood
Turkey
Special Diet
Expand
Paleo
Vegetarian
Expand
Vegetables
Fruit
Vegan
Gluten Free
Corn Free
Dairy Free
Egg Free
Slow Cooker
Instant Pot
DIY
Expand
Blogging
Cricut
Home Decor
Printables
Holidays
Expand
New Year’s Eve
Mardi Gras
Valentine’s Day
St. Patrick’s Day
Easter
July 4th
Halloween
Thanksgiving
Christmas
Travel
Expand
Accommodations
Dining
Shopping
Sightseeing
Events
Adventure
Expand
Kayaking
Haunted Travel
Facebook
Twitter
Instagram
Pinterest
YouTube
Search
Toggle Menu
Search
Appetizer
Monster Popcorn Balls
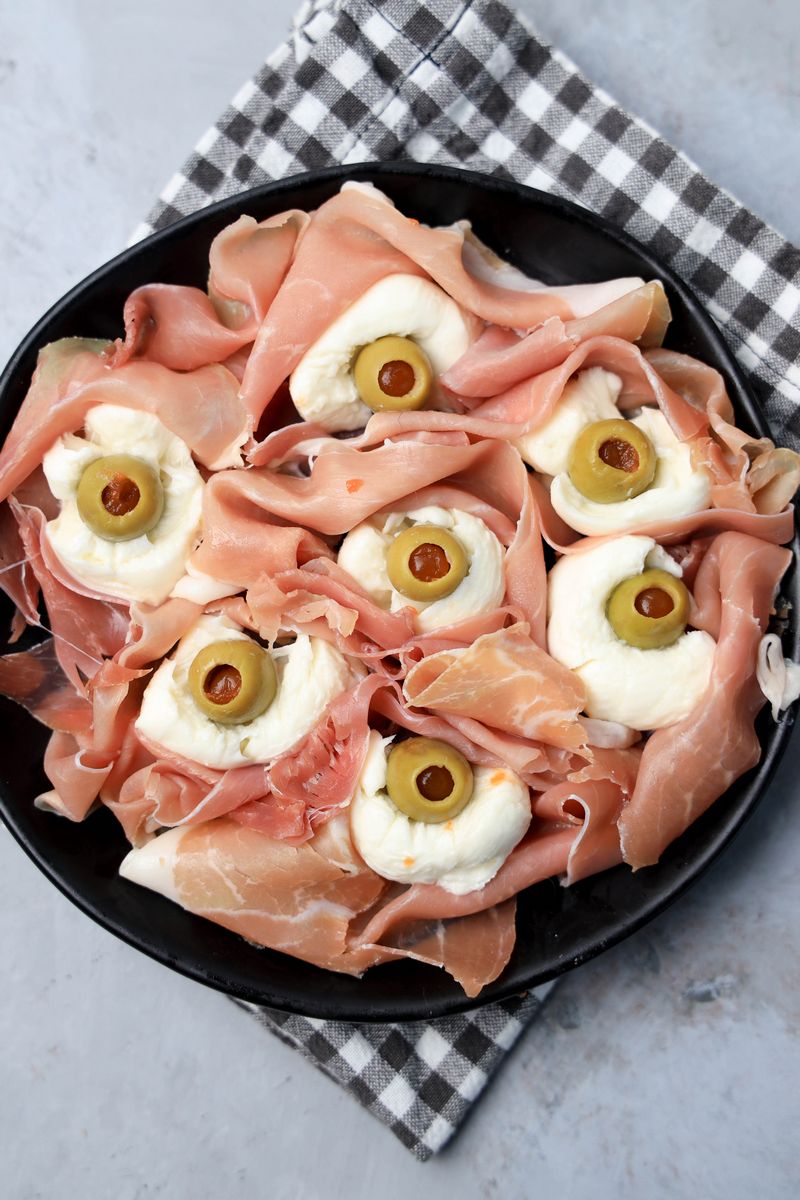
Prosciutto Mozzarella Eyeballs
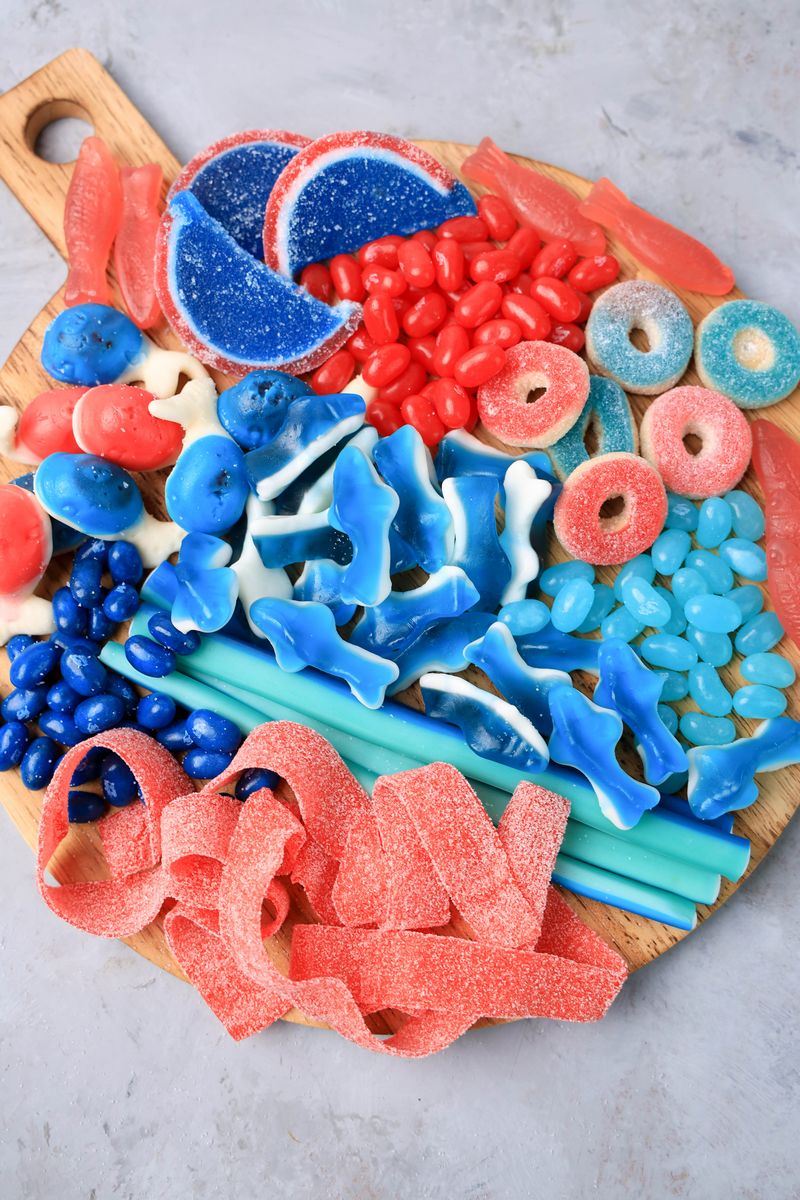
Shark Candy Charcuterie Board
St. Patrick’s Day Pretzel Rods
Strawberry Cheesecake Dip
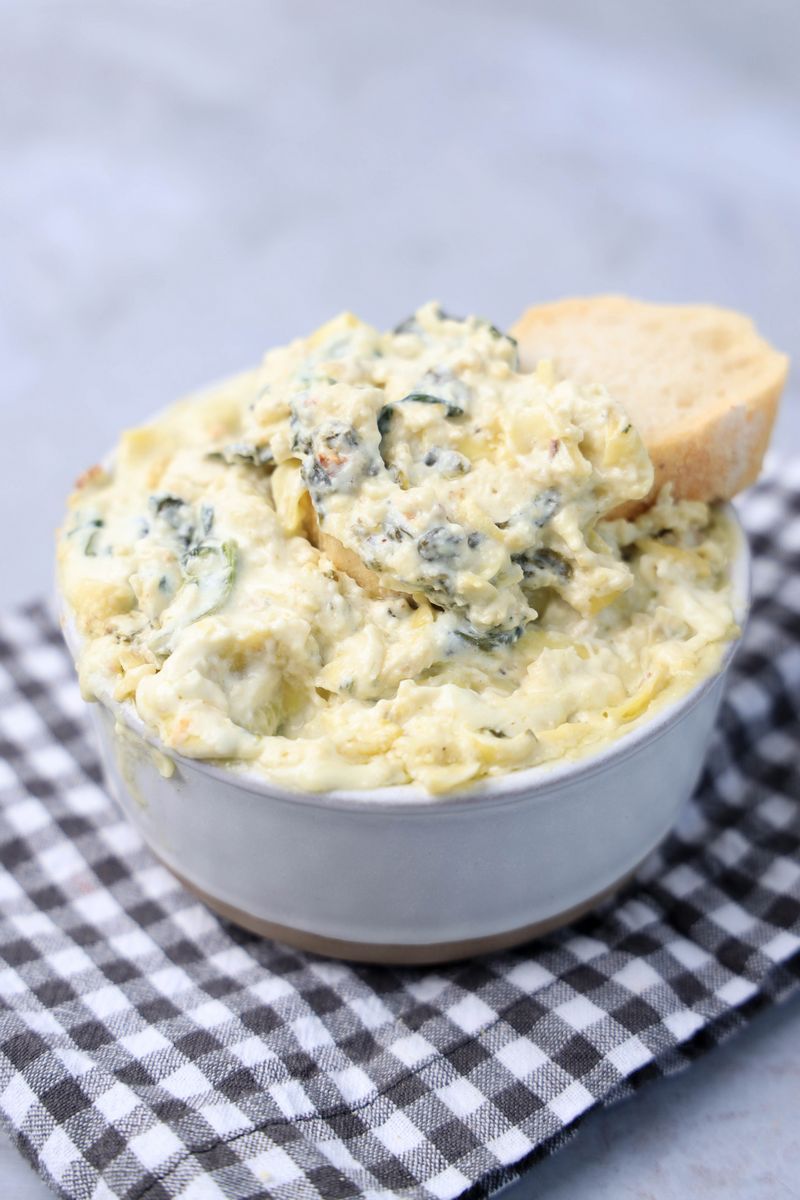
Slow Cooker Spinach Artichoke Dip
Mardi Gras Brownie Dip
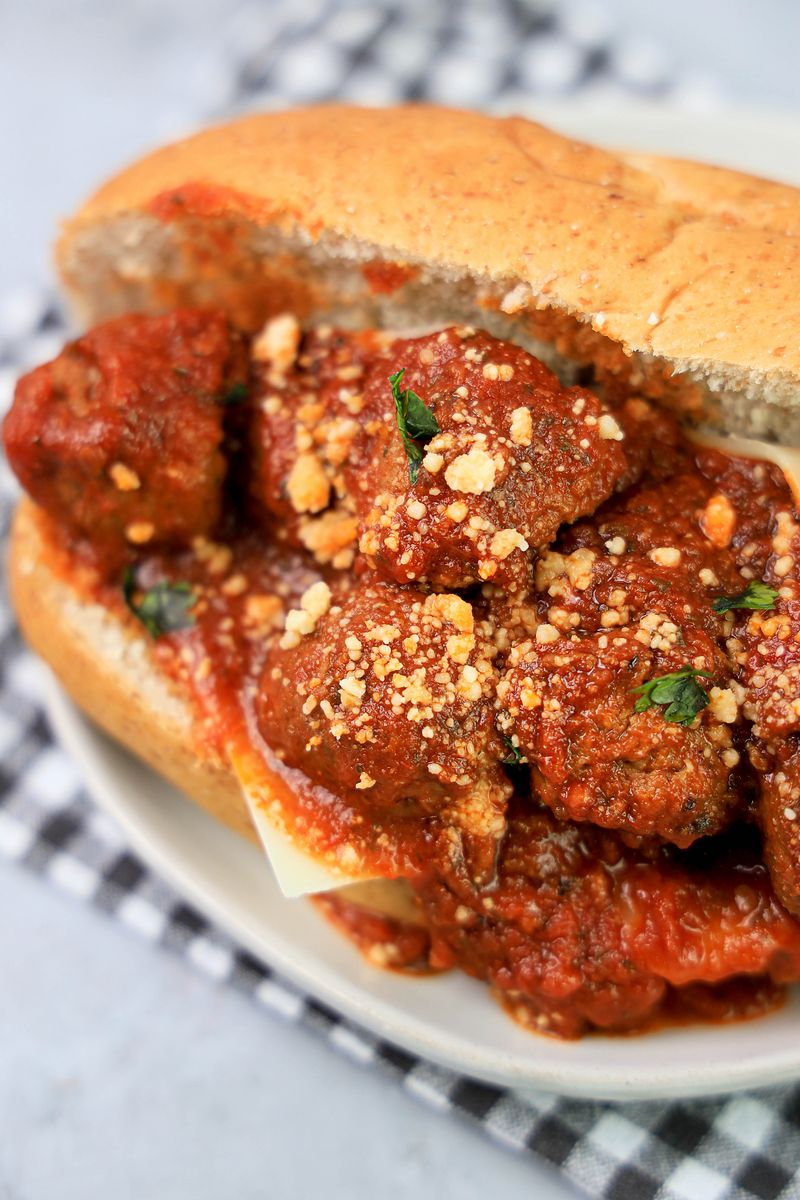
Slow Cooker Italian Meatball Subs
New Year’s Eve Pretzel Rods
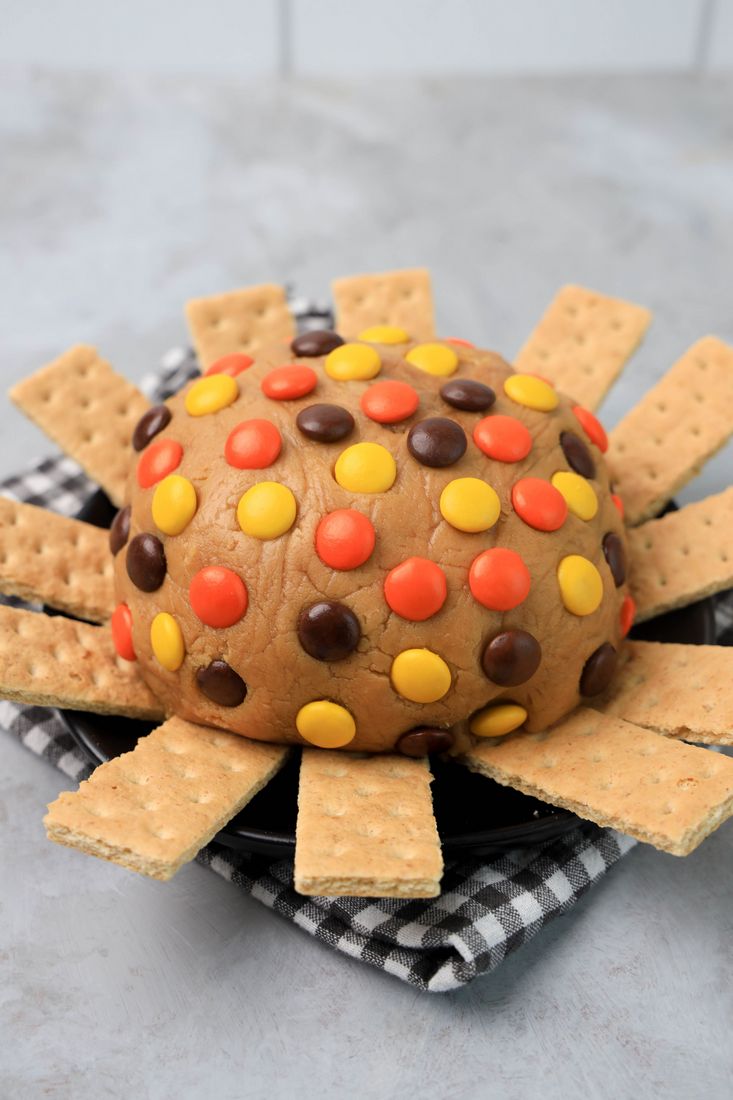
Reese’s Pieces Peanut Butter Dip
Pumpkin Puff Pastry Braid
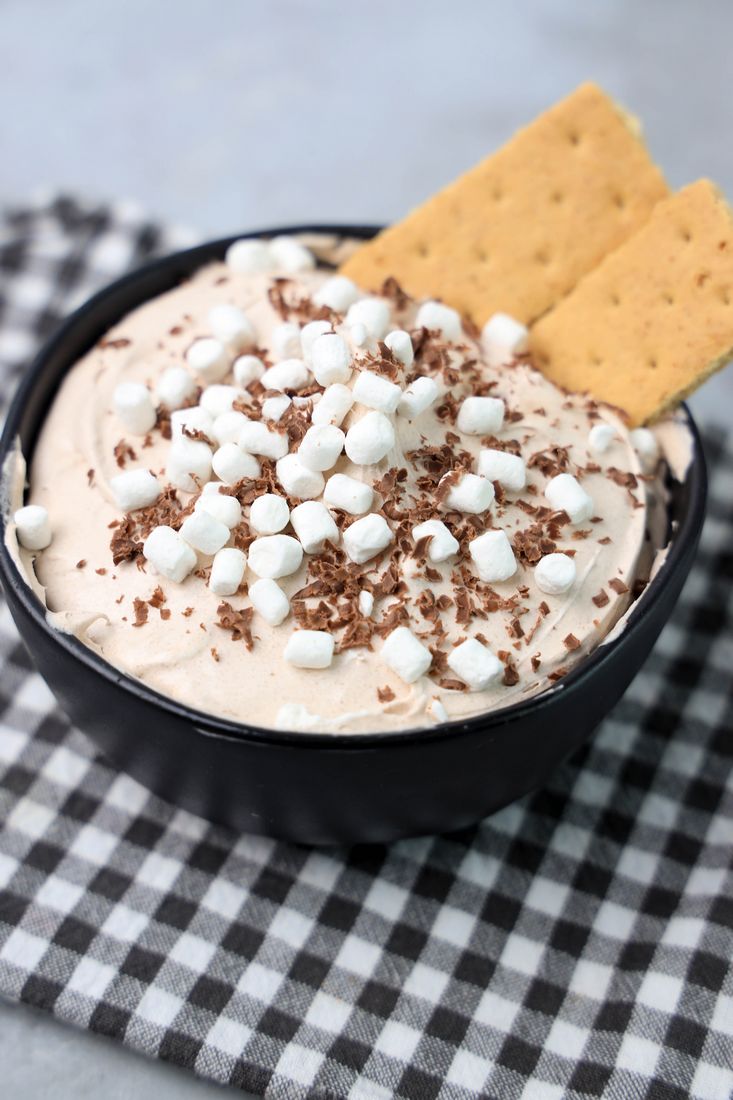
Hot Chocolate Dip
Page navigation
1
2
3
4
Next Page
Next
Home
About
Toggle child menu
Expand
Shop
Work With Us
Press Requests
Press
Privacy Policy
Nutrition Disclaimer
Recipes
Toggle child menu
Expand
Ethnic
Toggle child menu
Expand
North American
Toggle child menu
Expand
American
Mexican
Cajun
Caribbean
Eastern European
Toggle child menu
Expand
Czech
Hungarian
Western European
Toggle child menu
Expand
French
Italian
Scandinavian
Toggle child menu
Expand
Finnish
Asian
Toggle child menu
Expand
Chinese
Indian
Meals
Toggle child menu
Expand
Drinks
Appetizer
Breakfast
Lunch
Side Dish
Dinner
Desserts
Meats
Toggle child menu
Expand
Bacon
Beef
Chicken
Pork
Seafood
Turkey
Special Diet
Toggle child menu
Expand
Paleo
Vegetarian
Toggle child menu
Expand
Vegetables
Fruit
Vegan
Gluten Free
Corn Free
Dairy Free
Egg Free
Slow Cooker
Instant Pot
DIY
Toggle child menu
Expand
Blogging
Cricut
Home Decor
Printables
Holidays
Toggle child menu
Expand
New Year’s Eve
Mardi Gras
Valentine’s Day
St. Patrick’s Day
Easter
July 4th
Halloween
Thanksgiving
Christmas
Travel
Toggle child menu
Expand
Accommodations
Dining
Shopping
Sightseeing
Events
Adventure
Toggle child menu
Expand
Kayaking
Haunted Travel
Toggle Menu Close
Search for:
Search